
- Go to Elevation Profile and Select Shape File and Hit Import Button.

- Import Elevation Popup comes up.
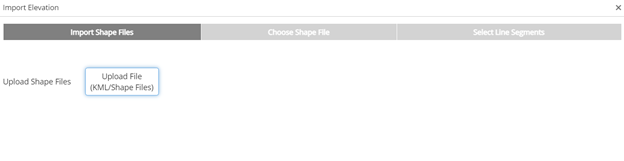
- Select Upload KML/KMZ file or for GIS Shape Files (Import all files related to that Project).
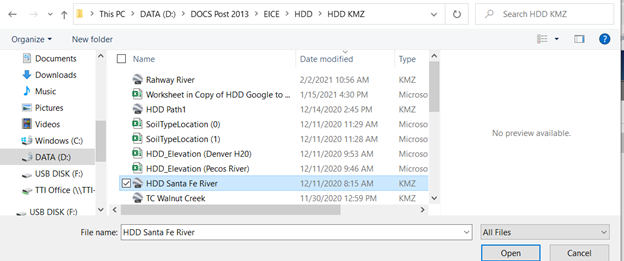
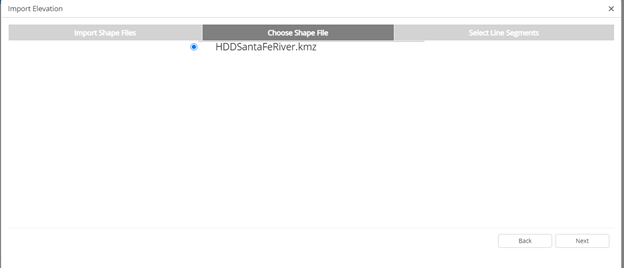
- Select HDD Button for file (Santa Fe).
- Hit Next bottom right corner of Pop Up.
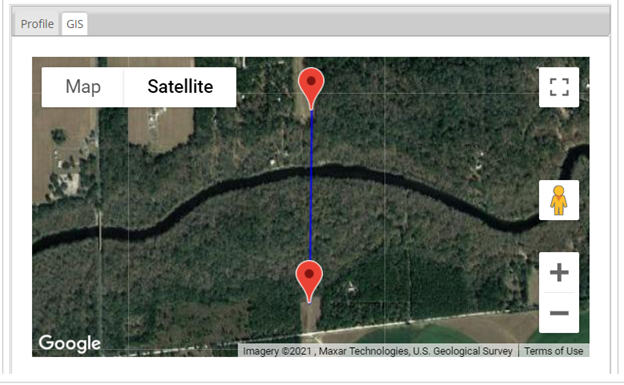
- Goggle Map Select Line Segments.
- Hit the HDD Crossing with cursor and change pipeline from red to green.
- Select red dot where the design begins or where the product pipe is pulled through.
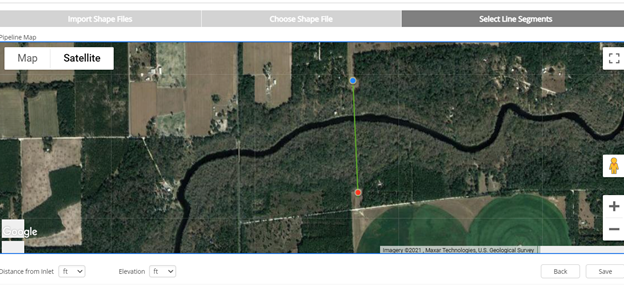
- Save as shown in bottom right of Google Map.
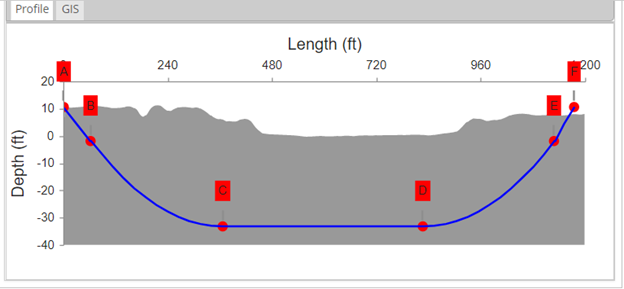
- Profile is shown below once the crossing is designed.
- GIS Map shown below.
- Continue HDD Design Work with Profile.